How to Sew a Hypoallergenic Pillowcase: Eczema‑Safe Fabric Choices + Step‑by‑Step Sewing Pattern
Introduction
People who suffer from eczema often experience irritation from rough or chemically treated textiles. One practical solution is to create a personal pillowcase from fabrics that are soft, breathable, and free of irritants. In this guide, the reader will learn how to select hypoallergenic material, cut it accurately, and sew a pillowcase that supports skin health while maintaining a polished appearance. By following the detailed steps, one can produce a durable pillowcase that reduces flare‑ups and adds a touch of personal style to the bedroom.
The process combines thoughtful material selection with reliable tools, ensuring that even a sewist with intermediate experience can achieve professional results. Throughout the guide, specific products are recommended where they genuinely simplify a step, but the instructions remain fully functional without any purchase.
What You’ll Need
- Hypoallergenic cotton fabric (e.g., Whaline Floral Cotton Fabric Squares)
- Fiskars 45mm Rotary Fabric Cutter
- Self‑healing cutting mat li>Sharp fabric scissors (optional backup)
- Measuring tape or ruler
- Fabric marking chalk or washable pen
- Sewing machine with a 3/4" needle
- Thread that matches the fabric
- Pins or fabric clips
- Iron and ironing board
Step‑by‑Step Instructions
1. Choose a Hypoallergenic Fabric
Start by selecting a fabric that is both gentle on sensitive skin and aesthetically pleasing. The Whaline Floral Cotton Fabric Squares offer a premium cotton blend that is odorless, soft, and resistant to fading after repeated washes. Each square measures 14 × 14 inches, providing ample material for a standard pillowcase while allowing for creative pattern combinations.
Key reasons for choosing this fabric include:
- Quality cotton construction that minimizes friction against delicate skin.
- Vibrant yet natural pink and green botanical prints that add a calming visual element to the bedroom.
- Affordable price of $14.99 for a 12‑piece bundle, giving sufficient yardage for multiple projects.
- Strong customer approval with a 4.3/5.0 rating from 271 reviews, indicating consistent satisfaction.
Alternative fabrics such as bamboo jersey or organic linen are acceptable, but the Whaline squares combine affordability, design variety, and proven hypoallergenic properties.
2. Prepare Your Cutting Workspace
A clean, flat surface protected by a self‑healing cutting mat is essential for precise cuts. Place the mat on a sturdy table, then arrange the fabric squares flat, ensuring the grain line runs parallel to the edge of the mat. This orientation prevents distortion when the pillowcase is sewn.
To cut the fabric efficiently, the Fiskars 45mm Rotary Fabric Cutter is recommended. The cutter features a 45 mm premium steel blade that remains sharp through multiple layers, making it ideal for cutting the 14 × 14 in squares without fraying.
- Price: $10.98
- Rating: 4.6/5.0 from 1,886 reviews
- Ambidextrous handle ensures comfortable use for right‑ or left‑handed users.
- Sliding button locks the blade in place for safety during storage.
The rotary cutter’s ability to glide across the cutting mat reduces the need for repeated scissor strokes, which can cause uneven edges and increase fatigue.
3. Measure and Mark the Fabric
For a standard pillowcase, cut two pieces each measuring 20 inches wide by 30 inches long (including a 1‑inch seam allowance on all sides). Use a measuring tape to mark the dimensions on the fabric squares with a piece of chalk or a washable fabric pen. Align the marks with the grain line to preserve the fabric’s natural drape.
If the chosen design pattern is important, position the marks so that the floral motif appears centered on the finished pillowcase. This step adds a professional touch without extra cost.
4. Cut the Fabric Using the Rotary Cutter
Place the marked fabric on the cutting mat, then press the Fiskars rotary cutter’s blade against the mat at the starting point of the first line. Glide the cutter smoothly along the chalk line, keeping steady pressure. The blade’s precision‑ground edge ensures a clean cut that will not fray during sewing.
Repeat the process for all four edges of each piece. If multiple layers need to be cut simultaneously, the cutter’s 45 mm blade can handle up to 10 layers of lightweight cotton, saving time on larger projects.
5. Press the Fabric Pieces
Before sewing, lightly press the cut pieces on the wrong side using an iron set to the cotton setting (around 350°F). Pressing removes any creases introduced during cutting and sets the grain line, which helps the seams lie flat.
Use a pressing cloth to protect the printed surface, especially if the design includes delicate ink that could melt under high heat.
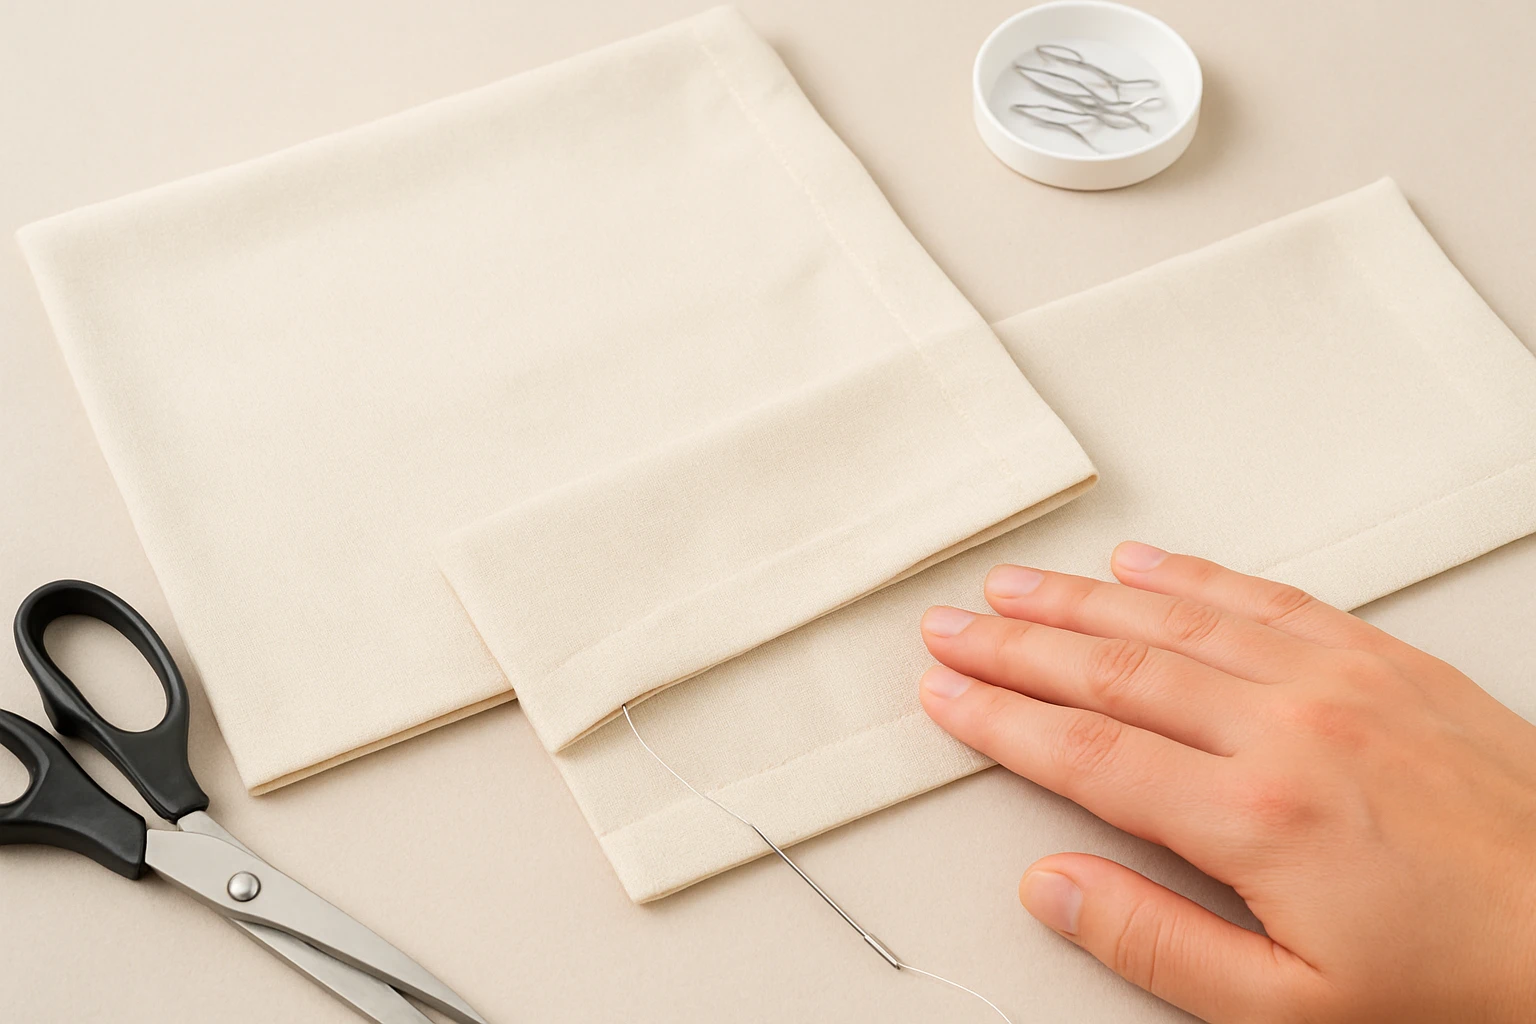
6. Sew the Pillowcase
Set your sewing machine with a 3/4" needle, which is suitable for medium‑weight cotton. Thread the machine with a high‑quality polyester or cotton thread that matches the fabric color.
Follow these sub‑steps:
- Pin the two pieces right sides together, aligning the edges and leaving one short side open for turning the pillowcase.
- Sew a 1‑inch seam along the long sides and the closed short side using a straight stitch. Use a medium stitch length (approximately 2.5 mm) for durability.
- Trim the seam allowances to ¼" to reduce bulk while preserving seam strength.
- Press the seams open or to one side, depending on personal preference.
- Fold the open short edge inward ½" and press, then fold again another ½" to encase the raw edge. Pin and sew a blind stitch or a narrow straight stitch to close the opening.
The finished pillowcase will have smooth, even seams that resist fraying, an essential quality for a product that will be washed frequently.
7. Final Finishing
Give the completed pillowcase a final press on both sides, ensuring that the floral pattern lies flat and the seam allowances are crisp. If desired, add a decorative top‑stitched edge using a matching thread to enhance durability and visual interest.
Insert a pillow form, and the hypoallergenic pillowcase is ready for use. The cotton’s breathability and the careful construction minimize heat buildup, which can trigger eczema flare‑ups.
Tips & Pro Tips
- Pre‑wash the fabric before cutting to prevent shrinkage after the pillowcase is sewn.
- Use a fabric conditioner formulated for sensitive skin to maintain softness without adding irritants.
- If the floral pattern repeats, align the motifs so that the center of the design appears on the front of the pillowcase.
- For extra durability, consider reinforcing the pillowcase corners with a small square of interfacing that is also hypoallergenic.
- Store the rotary cutter blade in its protective sheath when not in use to avoid accidental cuts.
Troubleshooting
Problem: Seam puckering after washing.
Solution: Use a slightly longer stitch length (3 mm) and press seams while still damp. This reduces tension that causes puckering.
Problem: Fabric frays at the opening.
Solution: Apply a narrow zig‑zag stitch or a serger to the raw edge before folding it closed.
Problem: Blade becomes dull after cutting multiple layers.
Solution: Replace the Fiskars rotary cutter blade using the quick‑snap mechanism; the tool’s design allows blade changes without tools.
Conclusion
By selecting hypoallergenic cotton, employing a precise rotary cutter, and following the step‑by‑step sewing process, one can produce a pillowcase that supports skin comfort and offers lasting aesthetic appeal. The guide demonstrates that with the right tools—such as the Whaline Fabric Squares and the Fiskars Rotary Cutter—creating an eczema‑safe pillowcase is both achievable and rewarding. One is encouraged to experiment with different patterns and sizes, confident that the foundational technique will yield consistently gentle results.
Products Mentioned in This Guide


Frequently Asked Questions
What fabrics are considered hypoallergenic for sewing pillowcases?
Soft, breathable natural fibers like 100% cotton, bamboo, or organic linen without chemical finishes are ideal for eczema‑safe pillowcases.
Do I need special thread or needles when sewing a hypoallergenic pillowcase?
Use a polyester or cotton thread that’s smooth and a universal or ball‑point needle (70/10 or 80/12) to avoid snagging delicate fabrics.
How can I prevent irritation from the pillowcase seam?
Sew flat-felled or French seams and finish raw edges with a serger or bias tape to keep seams smooth against the skin.
Can I wash a hypoallergenic pillowcase without losing its skin‑friendly properties?
Wash in warm (30‑40 °C) water with a gentle, fragrance‑free detergent and avoid fabric softeners to maintain softness and breathability.
Is a zipper or envelope closure better for a hypoallergenic pillowcase?
An envelope closure eliminates metal parts and reduces friction, making it the most skin‑friendly option for eczema sufferers.